15 March 2012

Home With Things to Show


Hello Readers!
I haven't downloaded the camera card to the pc yet so there are no pictures from my road trip. Maybe next time. 
I only made a couple of dragonflies on the trip. Only one is pictured cause I gave the one I made in the car to my sister and didn't take a picture of it. The other one is pictured below.
I brought home some skulls to add to my collection. I need to find out what kind of they are. One, I think is a cat. My sister gave them to me along with a bunch of other arty farty things.

There's a St. Patrick's Weekend All Types of Art Athon going on over at ATCsforall. The link's up there on the side bar if you'd like to go see what fun we're having over there! The athon runs through Sunday, I do believe.

I've made dragonflies.
all are made with copper wire and glass beads. The middle one was a successful experiment. Wasn't sure if that idea was going to pan out or not. Looks pretty good to me.
Dragonfly charms.

Green and purple seem to be my color choices today.
The theme of the athon is green so there is a lot of green going on in this post.
This is a chunky page sans its danglies but showing the charm that will be among the danglies once I get it attached with green yarn. This one is markers on orchard paper adhered to thick mat paper. 
I got the paper at the etc. shop when I was on my road trip. It reminds me of a paper coaster like you'd find at the bar but it has no printing on it and it came in a sheet about 12 inches square. I cut it down to 4x4s. Well one sheet of it. 
I think there are probably about 8 of them in that stack. there is also what appears to be handmade paper in that stack of 12 inch square papers. I spent 58 cents at the etc shop. Everything was 75% off the day I was there. The paper was originally only 25 cents so either way it was a steal!

The backside is not decorated at all really. There's a hand written quote that says:
I wonder in what fields today
he chases dragonflies in play...
my little boy, who ran away.
anonymous

Green Indian Elephant 
ATC
markers on cardstock
My muse got busy with green elephants, as you're about to see.

Green Zentangle Elephant Chunky
markers on orchard paper adhered to thick mat paper
I haven't decided what I'm going to do about danglies with this one. I think it will get some green string and green beads as well.

Mail Inspection
ATC
markers on cardstock
I did this one Tuesday and am just now getting around to scanning it.

Early this morning, with my first cup of coffee I drew this chunky page.
Shamrock Coffee Chunky
markers on thick mat paper
the dangly charm is the polymer clay coffee cup I did a while back

Pink Beetle Coffee Chunky
Needed some toast with my second cup of coffee this morning. 
The beetle is glass beads and silver craft wire

this is the first dragonfly of the day
glass seed beads and copper wire salvaged from a dead appliance motor

yellow green elephant bookmark
markers on cardstock
there are two layers of cardstock glued together with this quote handwritten on the back:
When there's an elephant in the room introduce him.
Randy Pausch

I'm sure before the sun sets tomorrow I'll have been back with 
more creativity to share.

Right now though, I'm gonna climb between the sheets cause I am whooped!
The trip to the zoo the day before yesterday 'bout did me in! I had a great time though!
Well worth the aches and pains of today so I'll not complain too loudly about the aches.
I got an invite for another road trip this afternoon. I had to decline that one though...shame, it would have done this old body wonders!

Be good to one another!
It matters!
Peace, Friends!
831

12 March 2012

Drawing, Wirework, Sewing and Papercraft

hello Readers!

Apparently I've been busy since yesterday....I have a few things to show you today. A few of them are older than just yesterday. Not sure how I spaced them out in the last post! 

Not much going on in my world other than sitting around making stuff!
That's to change tomorrow though. I'm going on a road trip. You won't be hearing from me for at least 2 days. I believe a trip to the zoo is in order along with visiting a couple of my sisters, my son and his family and just generally running amuck with a couple of my other sisters. Should be a great time! 
Guess what is here will have to tide you over till I get back from my trip.
Don't worry, I'll have something to show you! I'll probably take along some wire and seed beads to make more dragonflies. I won't leave home empty-handed. I'll need something to occupy those hands on the three hour drive to get there and home again. Even more driving time if we go see our other sister. The itinerary isn't exactly set in stone at this point. It will be a good time though and I promise to have something to show for the trip other than a bunch of junk brought home on the shopping sprees in thrift stores along the way!

Anyway.....here's what's new....

this is the green polish star I forgot to take a picture of yesterday.

I'm still fiddling with those pink felt stars. I think they're done now. 

I played a bunch of games of mahjongg in the last few days. This ATC is laying on my list of scores. Didn't realize the background was almost the same color as my ink pen until I go that picture here. 
Markers on cardstock.

I played around with paper a few days ago. 
This paper flower magnet resulted. That's a metal button in the center of it. It's about three inches across, five layers of paper curled or folded. An experiment that worked wonderfully! This one is made of orchard paper. Orchard paper is my go-to paper for experimenting with folding. That or magazine paper. I'll probably make more of these in the future.

Still on the dragonfly kick.
These guys are made of copper wire and two seed beads. I made them a little differently than the string dragonflies. These aren't knotted the length of their bodies. I only knotted to just past their wings and then twisted the wire around their bodies. Wire dragonflies are faster to make than string ones. I think they are prettier than any of the string dragonflies also. 
I am taking dragonfly making supplies on my trip so you will see more of these.

I gave the monster twin some eyes this morning.
Here's the first of the twin monsters.
They don't look near as much alike as I remembered them appearing when I cut them out.


This is the beginnings of a project I've been working on since around October 2011. I started on these 2 inch quilted squares about the same time I started making monsters. I add a square or two when the urge hits me. I recently dragged them to the livingroom so they'd be right at hand when I am sewing monsters or mug rugs. Still a long ways to go before I can call this project anywhere near finished. 38 squares does not a quilt make! Not even a doll quilt can be made from 38 squares! 
All the squares are from material I have used for a sewing project of one thing or another; be it monsters, rug mugs, hot pad holders or dottee dolls. There is a piece of quilt batting sandwiched between two pieces of fabric. Most of the squares have a different fabric on either side but some are the same on either side. 
You'll see this project again when I've made a bit more leadway.

It's a beautiful day in my neighborhood! 
You can barely see the green of the wheatfield back by the evergreen trees.
I really need to get Sammy to haul that old table out of the front yard and to his wood pile! 

You all be good to one another!
I'll see you in a few days!
Peace! 
831

11 March 2012

Polish Stars, Dragonflies, A Couple of Green Things and Progress

Hello Readers!

I watched a bit of television programming today. About 9 hours worth of The Firm. 
The dishes got done. A monster was sewn, though not finished completely. I drew a couple pictures,
I sewed a little book, I folded and assembled a few polish stars and I made a few more dragonflies.
I've been a busy girl.
Whether or not you consider any of it art is entirely up to you.
I just make the stuff. Others can argue about its virtue.
Here we go!
The two orange ones are the two I showed you in the last post. I said the yellow one was in the works and it would probably have a mate when you seen it next. Yep, it does have a mate and a few others to go along with it! Watching TV is quite conducive to assembling polish stars!

Here are three more. It has just dawned on me that I did not get the other polish star made today in the picture with these three....it's hanging on a peg not three inches above the green one in this picture! It too is green, just a different shade of green.
They're all made from magazine paper.
I believe I now have right at 40 polish stars completed. There are still many circles cut and ready for making more polish stars so expect to see a few more in the future.

I have become almost obsessed with dragonflies.

I have made a dragonfly out of almost every type of string I have on hand. 
Some are quite successful, like the green one with white beads on its body...that one turned out great! And then there are the not so good ones like the black one, made out of some sort of stiff ribbon. The sparkly green one doesn't look like a dragonfly at all to me...more like a butterfly or moth. Not a complete failure though. The white one in the middle is the first one I made that the eyes actually worked out like they should! I soldiered on! The easiest one to tie was the big pink one!
I'll probably be making more of these.

I did a bit of drawing....

A one-eyed, no armed green monster for the paper bag book.
Markers on orchard paper.

Green was the theme of the day apparently....
another green thing for the paper bag book.
Markers on orchard paper.

I sewed a little book.
This one was cut out and readied for sewing couple weeks ago.
It has an owl on the other cover. 2x2 inches, 3signatures of Day Runner Refill paper.
Sewn with crochet cotton.

And finally...
the flamingo. His beak still needs carved. He still needs his head paper mached. I did however add a bit of masking tape to his neck....the flamingo just isn't talking to me much these days....He will though. Soon.

I sewed a monster today as well as all these other things shown. The monster isn't shown cause he's not quite done yet. He still needs some eyes and maybe some hair....I may turn him into a her by the addition of some pink hair cause right now he looks a great deal like the last monster you all saw on these pages. 

I started another project the day before yesterday. Still a bit of preparation to do with that project before I unveil it though. Some thought needs put to it as well as some hands on approach. At the moment that involves covering something to disguise what it was and to make it useful in an artful endeavor. I know it will work, I've done it before....I think there were six of them when I first did these...I've just never undertaken the number of them I intend to take on this time! You all will see what I'm talking about when it gets off the ground a bit farther than it is at present.

Be good to one another!
It matters!
Peace, Friends!
831

09 March 2012

Friday! At last!

Hello Readers!
I say Friday! At last!, cause some of you live for Friday. I don't. One day is the same as any other day unless I have to make an appointment or some such. All's good though! I do hope you have big plans for your weekend! 
I don't. All's good though!

It's been a few days since I posted. There isn't a great deal to show for those days but I did accomplish this and that! I wasn't feeling well for a couple of days. Slept those days away...19 hours one day, 18 the day before. I appear to have survived the ordeal though so, as I've already said, twice....All's good!

The Flamingo is progressing.
I've got his beak glued together, waiting to be carved into the shape it should be.
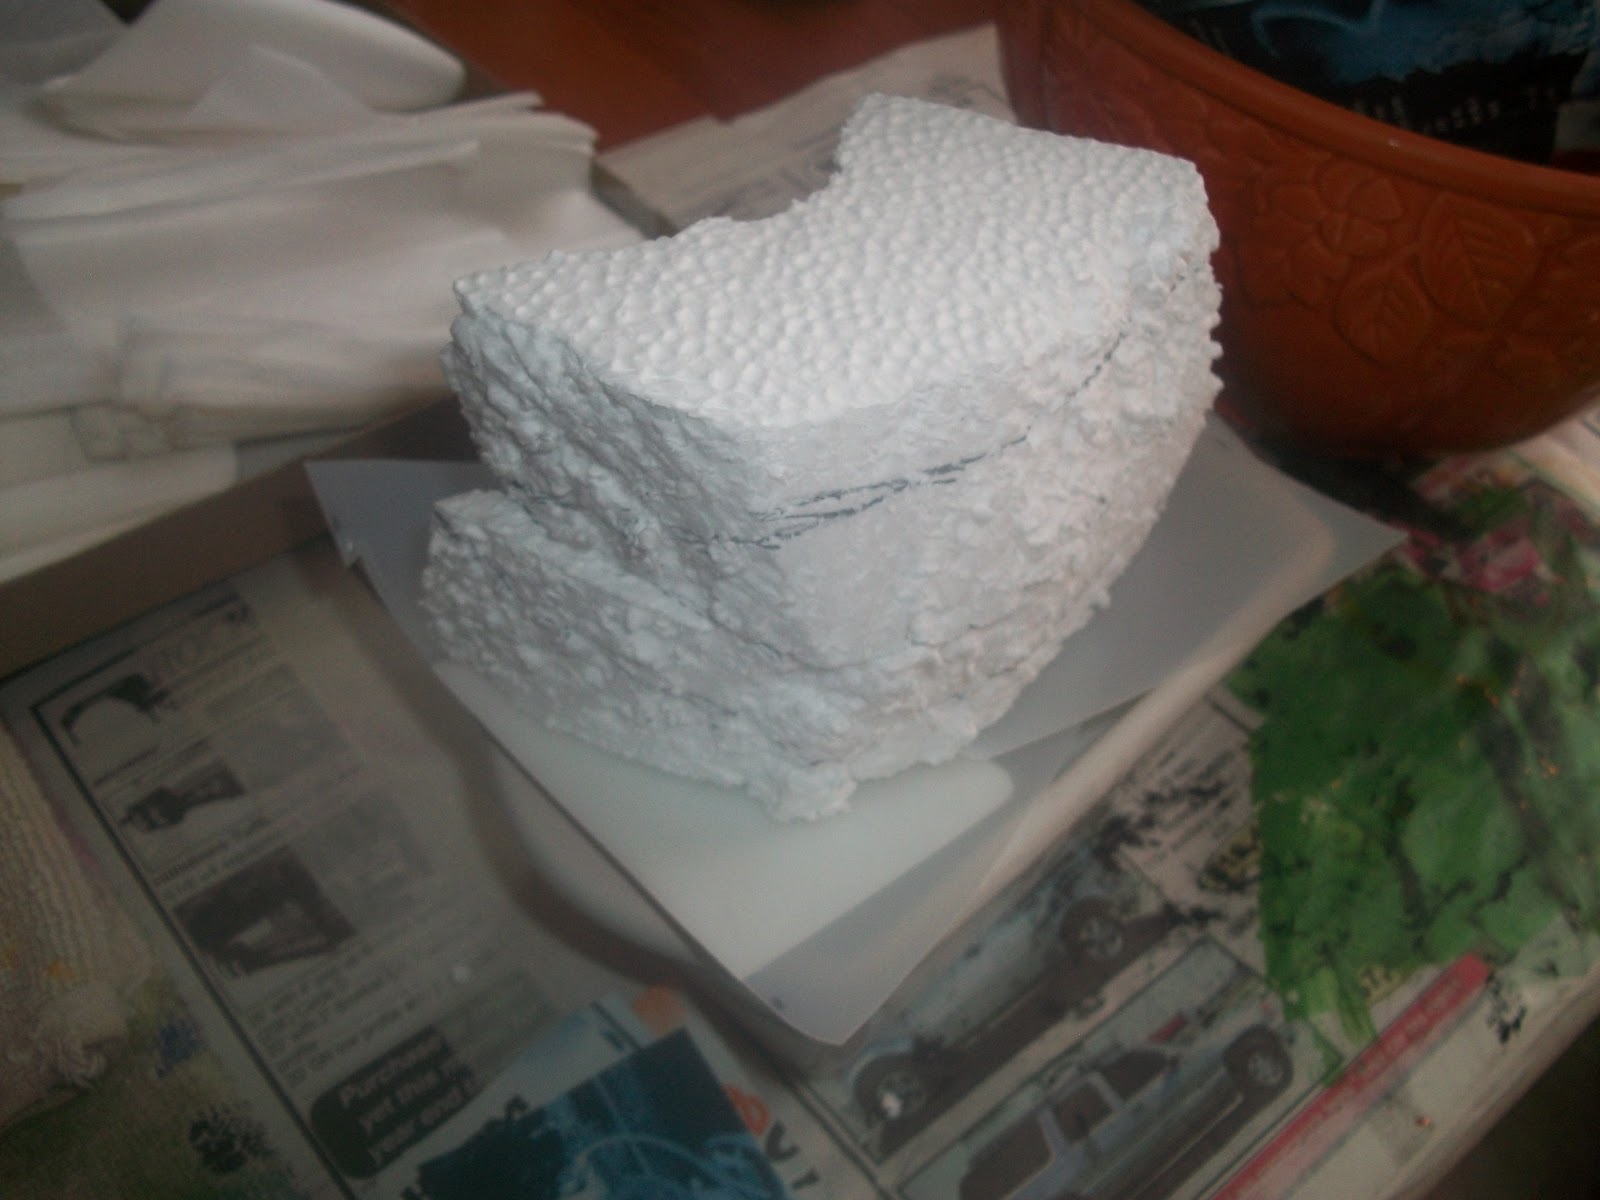
It's a couple hunks of 1.5 inch styrofoam packaging material. I'll drag out the heated knife and get to carving on it in the next few days. It's not quite time for the beak just yet.

The flamingo has one coat of paper on him save his head. I'm really not happy with his neck at all but I think I can work with it once I get him covered with paper mache strips. 
I cut his legs off. They were in the way. I need to figure out how he's going to stand. The paper stick legs I cut off of him are not going to do. Not going to do at all! So it's back to the drawing board with his legs. That's not a set back though. It's nowhere time to worry about his legs. 
Progress is happening.

I told you some about this next thing in the last post.

A failed experiment. Fodder for the stove! 
I was attempting to make a paper basket our of those sticks made from magazine pages and some folded newspaper. It did not work out at all as I had envisioned! 
I am not giving up on making a basket from those sticks though. I have hundreds of those sticks and I have got to do something with them! I think maybe if I dampened the sticks, they would behave more like reeds and bend where I need them to bend. Newspaper is a lovely weaving medium. It behaves quite nicely on its own. It's the stick that are the failure here. 
So, this is still on my list of things to do.

Remember these snowman hats? I made them back in November, I believe.
When I put them together I forgot to punch a hole in the top of the first four before I put the lid on top of the hat. I proceeded nonetheless, thinking I would turn them into hats for something or another. 
I decided to do this to them instead.
I yanked off the flower and the hatband and painted them green.
The chain on the tops says LUCK OF THE IRISH. I took the shamrocks from the necklaces the saying comes from and glued it to the gold braid I used as a hatband.
I have to thank Ma for the gold braid. She brought it to me. It had a 25cent price tag on it....probably from the thrift store. Was an excellent find! So, Thanks Ma!
I hot glued the letter strand to the top of the hat as I did with the hatband and the shamrock. 
Does anyone need a Leprachaun Hat?

I folded, glued and assembled two more Polish Stars.
There's a yellow one in the works. You'll get to see it next time. Maybe it will have a mate? 

Learning the Dragonfly Knot.
I had seen these knotted dragonflies before. In fact, if memory serves me correctly, I have an ATC in my collection that has a knotted dragonfly on it. I've wanted to learn how to do this for some time now. I ran across a tutorial for it! 
They're very easy to make. A bit frustrating when you first start, but overall quite easy once you get your fingers to obey where the strings should end up. We've all done macrame! That's all this is. I made the large green jute dragonfly first. It's actually the best of the lot of them if you ask me! The bigger the string, the easier it is to do. The brown one has only two wings instead of four cause I didn't cut the string long enough to begin with. The bright green one for the same reason. The white one was a bit of a bear to tie but it turned out very nice! I used my tweezers to help in the tying of the white one. I used 3/8inch satin ribbon to tie the coral colored one. I screwed up that lower pair of wings...one was way shorter than the other...so I cut them to be the same length. This one isn't all that great. I'll give this ribbon another try and see what happens.

You can see the white one isn't very big. About an inch and a quarter. It is tied with crochet cotton. The bright green one is tied with plastic lanyard. It's very stretchy, not so good for tying knots.That one appears to have been squished...much like a dragonfly caught in the grill of a vehicle! I don't think I'll be attempting more knotted dragonflies from the lanyard. The brown one is made from macrame cord. I've also knotted two more dragonflies that aren't shown. One from the pink fuzzy yarn I use for monster hair and the other from some thin nylon cord. I'll show those to you next time. And probably more dragonflies as well. 

Keep creating! 
Be good to one another!
It matters!!! It does indeed matter!!!
Peace, Friends!
831


06 March 2012

Stars, Monsters, Skeletons and Plastic Jug Transformed

Good Morning Readers!
I'm not feeling well again today. Yesterday was a rough day pain-wise. I didn't accomplish anything arty at all! I used up all my energy going to Pburg with Ma and then to the grocery store to stock the bare cupboards! Perhaps a bit of art will materialize today?
I really need to work on the flamingo! Which I haven't touched since the last time you all saw him some days ago. 


I did finish the eggshell mosaic stars though. 
I should have laid these out on a sheet of white paper instead of the messy newspaper on the kitchen table.
Ma picked one out of this bunch and wanted me to put a magnet on the back of it so she could hang it on her fridge with the other million fridge magnets she has. This was couple days ago. Only half the stars had color then. I put a magnet on it and she forgot to take it with her when she went home. I put it on my fridge so the next time she comes along she can take it home with her. I pulled it off the fridge to put it with the rest of them to take the picture and when I pulled the star off the fridge, the dang magnet stayed on the fridge! I have to find a different glue to hold those magnets on! I must!!!!
I'm pleased with the eggshell mosiac stars but I've not a clue what the heck to do with them!
Guess I'll figure that out eventually. I really think a few of them will end up as embellishments for little book covers. I learned a new binding stitch and will have to test it out on a little book soon. Perhaps that book will have stars on it!

The paper sticks in the picture with the eggshell mosaic stars will make an appearance in the next post. I did an experiment with them the other night that went horribly wrong. You don't get to see a picture of that experiment I'm afraid. I really shouldn't say it went 'horribly wrong' cause I did learn a thing or two about working with the sticks in that particular manner.

I just had a great thought!....that chipboard twine I showed you all awhile back....that might end up in a project with the paper sticks....stayed tuned! We'll see what happens!

The pink and gray felt stars are finished!
I should have put rings on all five of them but I didn't. The other three have magnets sewn inside.

On a surfing expedition through cyberspace the other day, I came across a container made from a 20oz. plastic bottle.
I ran with it.....

This is a gallon sized zippered container.
I thought sewing that zipper onto the plastic container was going to be a bear of a project but I was pleasantly surprised with how easily that was accomplished! A few things I learned about making this thing:
1. Don't bother painting the container cause paint sticks to the plastic but it also scratches off quite easily. Painting it was a waste of time!
2. Bigger is not always better! This container is of a good size, but the sides are not very sturdy which makes working the zipper a bit of a pain.
3. Measure before you trim the zipper so you aren't left with a gap after sewing.
4. Don't bother to pre-punch sewing holes. It is a wasted step when the needle will go through the plastic with little trouble.

This container will be filled with odds and ends of some sort! 
This experiment was by no means a failure! I'll be making some littler versions of this once I can locate some zippers to use in the construction. 
The zipper I used in the container came from a chenille house coat. 

The material from the house coat makes nice fuzzy monsters! 
I have another monster cut out and ready to sew that will look pretty much just like this one! 
This one is about 8-9 inches tall. His horns and eyes are felt.

Skelly is still not complete, though he is put together. 
As you can see, the second skeleton and the arm bones for the first skeleton all burned in the oven. I think I had the heat too high. I had the timer set, but still they cooked too long. Back to the drawing board or time to paint some skelly bones. One or the other. 

I wanted to show you all what the skeleton looks like put together (minus his arms). 

Yep, them there bones are charred! (Most of 'em anyway!)
Will do another skelly and see if I can get it right the next time!

I added a bit of artwork to my altered book the other day also. I was going to take pictures, but spaced it out so next post you'll see some of that. One of these days I will call that altered book, done! Still a ways from that happening though considering there are still quite a few blank pages in it!

I'm working on another Polish Star. Haven't watched any television programming lately so haven't worked on getting that orange star done for a few days. 
The flamingo needs some progress made.
The leprachaun hats are still unfinished. Though I did find what I needed to finish them yesterday so they are on my radar for art today. 

I'll be back in a few days time to show you all something else I've created.
Hopefully the old body will settle down and cooperate so I can create something or another!
Be good to one another!
It matters!
Peace, friends!
831

03 March 2012

Stars, Hats, A Bit of Junk and A Skeleton Out of the Oven

Hello Readers!
I did a bit with those eggshells I was talking about in the last post.
Stars have materialized.
Chipboard cereal box painted black. Eggshells broken into tiny pieces, glued to the stars with Elmer's Glue.
My sister gave me that large pair of tweezers laying on the table. She actually gave me THREE pairs of those wonderful jewelers tweezers! Thanks, Jeanny!
Couldn't have done the eggshell mosaics without tweezers! 
nor my reading glasses! I'm blind as a bat some days!
Half of the stars in the lower picture here are painted with Dr. Ph Martin's Ink, the other 5 still waiting on glue to dry.
You'll see all the stars done tomorrow. They are actually done right now but I didn't get a picture of them before I downloaded the smart card so you'll have to wait!
I'm uncertain where these stars are headed.
I just don't know at this time. Magnets maybe? Pendants/charms/ornies? 
I just don't know.
Maybe some of them will end up on the cover a little book.
I need to make more little books.

Snowman hats got transformed into Leparchaun Hats.
When I made the snowman hats I forgot to punch holes in four of the tops before I assembled the hats so they were useless as ornaments. I tore off the fabric flowers and tried to remove the ribbon hatband as well. That ribbon held fast on most of them so I just painted over it!

Here they have only one coat of green. They now have three coats of green...all four of them! Next is a gold braided ribbon for a hatband. Then I need to locate those shamrocks I KNOW I HAVE somewhere.
Both stars and hats are works in progress.

I seem to have an over abundance of works in progress....

Junk Magnets made an appearance.
This one is a little foil paper origami heart inside a broken watch case. It's rather heavy. I glued a gold plastic coin to the backside to keep the heart in. I know that when I go to glue a magnet on the backside, the E6000 will not play nicely with the plastic and that magnet will fall off. 
I need to get a tube of super glue to adhere those magnets to plastic things. The E6000 did not play nicely with the green computer junk magnet I made last week either. It's made of aluminum. 
Is it possible to have gotten a bad batch of E6000? I don't ever recall it not playing nicely with plastic before this tube I'm currently using. 

At any rate, I did make a couple magnets.

Amy's Junk Magnet
so named cause it now belongs to Amy! 
This one is made from 2 computer parts, plastic netting, copper wire, a bit of colorful plastic, a snippet of red ribbon, 2 poke plant seeds and a gold plastic heart charm. She's a tiny little thing...only about 2 inches tall.

And while we're doing tiny.....

I  busted out the polymer clay on Thursday.
I made this tiny coffee mug charm along with a couple other things you'll see in a bit. 

I drew the birds with markers.
This is slated to be a charm on a coffee themed chunky page in the near future.

More Stars!
Another work in progress!
Felt stars. Two of them have magnets inside of them, the other a copper jump ring.
I intend to embellish these further with dimensional paint or seed beads. 
I'll have to find a small enough needle if I decide on seed beads and hope to heck I can see worth a darn that day.  I think the two remaining to be sewed will end up with a jump ring. The magnets don't stick real well cause I used magnet pieces in them and there's just too much thickness for those little chunks of magnet to stick through! They stick, but don't try to hold something up with them! That is not happening!!!

My workspace...
is a mess!
I haven't done a thing with the flamingo since the last time I posted. He's on the list with the rest of the works in progress. As is the purple cane leaning up in the corner in that picture. Gonna have to do something with that cane pretty soon. Purple wasn't the right thing to do with it...painting it purple stopped my muse right in her tracks on that one!

As I said, I dragged the polymer clay out....

I don't know about this skeleton. He was pretty easy to make and he turned out alright. Despite the fact he's scattered all over that bright blue mushroom box in this picture, he did go together quite easily when I rewatched the video tutorial. I got him all put together with the exception of his arms. I only made beads for his legs....there should be 8 of those long tubes in that box.
I don't have a picture of him half done, sorry.
I made another batch of skeleton pieces because to continue with this one, I needed some arm bones. If I'm going to have to make four of them, might as well just make a whole herd of them at once, yes?
That would have worked out fine but it has just dawned on me that I needed, not two more arm bones, but four of them....I only 10 more tube beads....I should have made 12.
Not to worry though....
that new batch of skelly parts...it stayed in the oven way too long! 
Those bones do not match these nice white bones here. So another polyclay session is slated for later today and we'll see if I can get this right. Perhaps I shouldn't be thinking about skeletons in March?
I'll soldier on....this little skelly is quite cute!

Here's the tutorial if you'd like to make one as well.


I don't work with the polymer clay at the kitchen table workstation. 
I do it at my desk where the computer sits so I can watch the video tutorials to learn how to do most of this stuff! I wish my brain had as broad a scope as those who are designers....I just follow someone else's ideas to come to the end product. Some of it comes straight out of my head...and usually those are pretty good ideas...but the majority of it isn't my original ideas.

Until next time:
Be good to one another!
It matters!
Peace, Friends!
831

01 March 2012

Progress on The Flamingo, A monster, A Little Book and Some Eggshells

Hello Readers!

I said I was going to make a flamingo out of paper mache.
Here's some progress made!
He's still a LONG ways to go before he's done!
I'll carve some styrofoam into a beak shape to add to his head and I'll have to figure out his legs and feet when the time comes. At the moment he's nothing more than that paper reed armature and plastic grocery bags taped on it. I cut his neck and head off before adding the plastic bags and repositioned it. That neck still isn't quite right, but it's going in the right direction. Some more surgery may take place in the next few days. We'll see.

My reference drawing to keep the flamingo looking somewhat like a flamingo.
Pencil on orchard paper.

Here's that monster you all saw in pieces yesterday.
He's not my favorite by any means! I think he'd look a lot better without that pink hair but the hair was needed to cover up my shabby sewing job when I sewed him closed after stuffing him!
He's about 8 inches tall. I used that orange polo shirt for his body and the collar from that shirt for his eyes along with a bit of blue felt. His horns are red fleece from an old shirt. He's sewn with orange and red crewel embroidery yarn and white crochet cotton string.

Mandala Book

Here are both the covers for the Mandala Book.
2 inches square, drawn with markers on orchard paper and then adhered to the thick chipboard tiles from a kid's memory game.

I'm adding to the Paper Bag Book.

This is eggshells, stickles and black marker on orchard paper. 
It folds into threes becoming about 3.5 inches square. It's glued to green scrap book paper, white on the backside where the drawing is glued. 
I'll be doing something with eggshells again as I saved the remains of my supper last night! I have four eggshells all cleaned and ready for creative purposes. I used less than half of one eggshell for the flowers on the cherry blossom drawing.

Expect to see stars in the next post!
Maybe another monster as well. But if truth be known, I'm kinda sick of monsters right now.
And I'm really bored with Polish Stars so those won't be showing up too frequently right now. I still have enough circles cut to make another dozen or more Polish Stars so there will be more of those in the future. 

Be good to one another!
It matters!
Peace, Friends!
831

Followers